
Basketball shooting form is the single most important skill a player can develop. Every point scored starts with proper shooting mechanics, and players who master basketball shooting form early gain an advantage that compounds for their entire career. Whether you’re a beginner learning your first jumper or an experienced player fixing bad habits, these 7 steps break down the perfect shot into repeatable, trainable components.
Why Basketball Shooting Form Matters More Than Anything Else
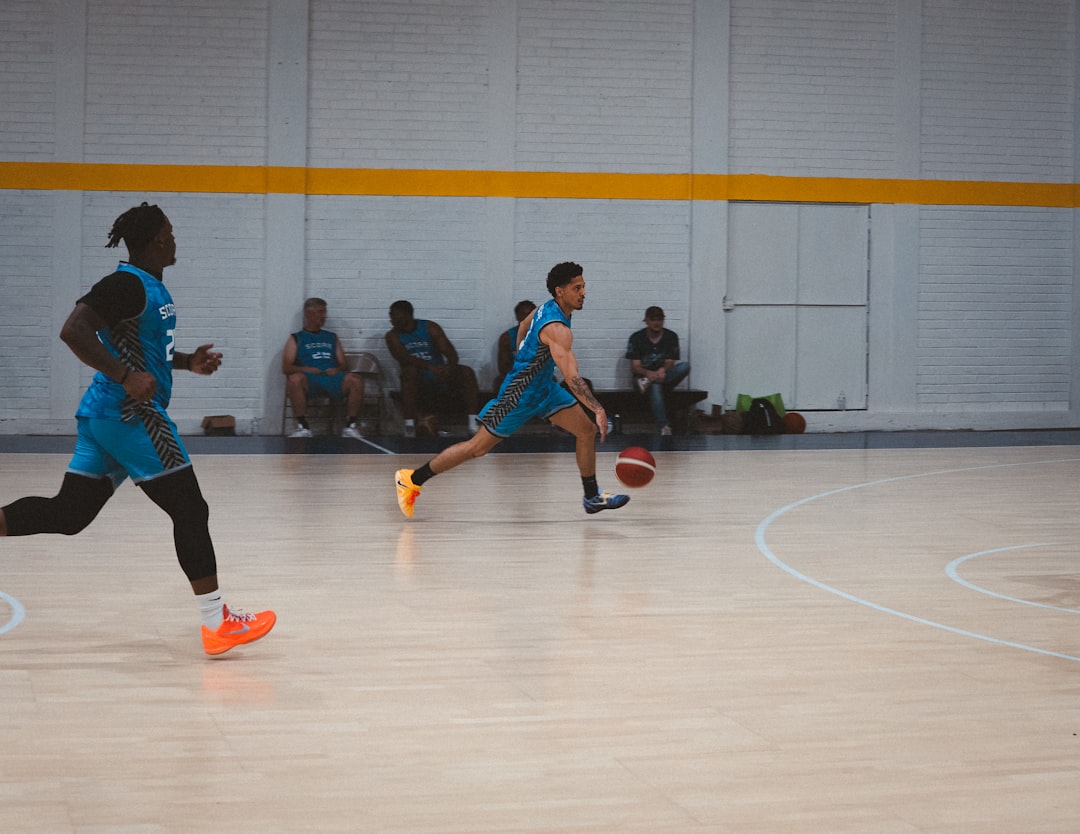
You can be the fastest, most athletic player on the court — but if you can’t shoot, defenses will sag off you, clog the lane, and make everything harder for your team. Great basketball shooting form is the ultimate equalizer. Players like Steph Curry and Ray Allen weren’t the most athletic players on the floor, but their shooting mechanics were so precise that they changed how the game is played.
The good news: basketball shooting form is 100% trainable. It’s not about talent — it’s about repetitions with correct mechanics. According to USA Basketball’s coaching guidelines, shooting technique should be the primary focus of individual skill development at every level.
The 7 Steps to Perfect Basketball Shooting Form
Step 1 — Balanced Stance
Everything starts from the ground up. Your feet should be shoulder-width apart, with your shooting foot slightly ahead of your non-shooting foot. Knees are bent, weight is on the balls of your feet, and your body is squared to the basket.
A balanced stance gives your shot a stable foundation. Without it, every other element of your basketball shooting form breaks down.
Step 2 — Shot Pocket
The shot pocket is where the ball sits before you begin your shooting motion. Hold the ball at chest-to-chin height on your shooting side. Your shooting hand is behind the ball with fingers spread, and your guide hand sits on the side for balance — never pushing the ball.
A consistent shot pocket means a consistent release point. Develop muscle memory by starting every shot from the same position.
Step 3 — Shooting Hand Position
Your shooting hand should be centered behind the ball with your index and middle fingers along the seams. The ball rests on your finger pads — never flat on your palm. There should be a small gap between the ball and your palm.
This finger-pad contact gives you the spin and control that defines great basketball shooting form. The ball should roll off your index finger last on every release.
Step 4 — Elbow Alignment
Your shooting elbow should form an “L” shape and stay tucked — aligned under the ball, not flaring out to the side. Think of your arm as a catapult: the elbow is the hinge, and it should point at the basket.
Flaring the elbow is the most common basketball shooting form mistake. It causes the ball to drift left or right and introduces inconsistency that’s hard to fix once ingrained.
Step 5 — Leg Power and Lift
Your legs generate the power for your shot — your arms guide and aim. As you begin the shooting motion, straighten your knees and rise onto your toes (or leave the ground for a jump shot). The upward force from your legs flows through your core and into your release.
Young players especially should focus on using their legs rather than pushing with their arms. Proper basketball shooting form means the shot feels effortless because the legs do the heavy lifting.
Step 6 — Release and Follow-Through
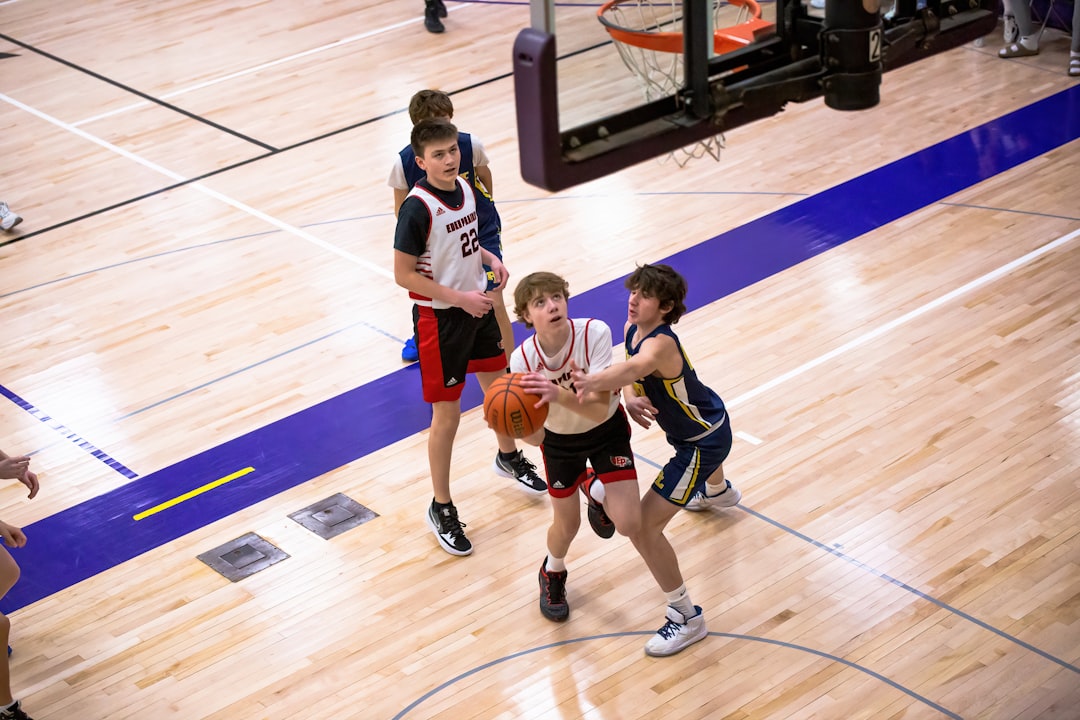
At the top of your shooting motion, snap your wrist forward and release the ball with your index finger as the last point of contact. Your arm should fully extend, and your wrist should finish with a “gooseneck” — fingers pointing down toward the basket like you’re reaching into a cookie jar on a high shelf.
Hold your follow-through until the ball reaches the basket. This isn’t just for show — holding the follow-through ensures you completed the full motion and helps you diagnose misses.
Step 7 — Arc and Rotation
The ideal shot has a 45-50 degree arc and backward rotation. Higher arc creates a larger target area when the ball reaches the rim. Backspin gives the ball a softer touch that increases the chance of a friendly bounce.
You can check rotation by watching the seams — they should create a clean, visible backward spin. If the ball wobbles or knuckles, your hand placement or release needs adjustment. This is the finishing detail that separates good basketball shooting form from great.
5 Drills to Improve Your Shooting Form
Form Shooting (Close Range)
Stand 3-4 feet from the basket. Shoot using only your shooting hand — no guide hand. Focus purely on mechanics: balanced stance, elbow alignment, snap, follow-through. This is the most important drill for developing basketball shooting form.
Catch and Shoot
Have a partner pass to you at different spots around the arc. Catch, settle into your stance, and shoot in one fluid motion. This trains the transition from catch to shot pocket to release.
Free Throw Routine
Shoot 50 free throws daily with the exact same pre-shot routine every time. Free throws isolate basketball shooting form without defensive pressure and build the consistency that transfers to game situations.
Spot Shooting
Pick 5 spots around the mid-range and 3-point line. Shoot 10 from each spot, track your makes. Move to the next spot regardless of result. This builds consistency from every angle.
One-Dribble Pull-Up
Catch the ball, take one dribble, and pull up for a jump shot. This drill connects dribbling to shooting and develops the ability to create your own shot with proper basketball shooting form intact.
Common Shooting Mistakes and Fixes
- Thumbing the ball (guide hand pushes): Practice one-hand form shooting to isolate the shooting hand
- Flat shot (no arc): Aim for a spot 2 feet above the rim rather than the rim itself
- Inconsistent release point: Use form shooting drill to establish muscle memory at the same release height every time
- Fading away: Focus on jumping straight up and landing in the same spot. Film yourself from the side to check
- Rushing the shot: Slow everything down. Great basketball shooting form feels smooth, never rushed. Speed comes naturally after the mechanics are automatic
Master the form first, then add speed. Basketball shooting form is a skill that rewards patience and repetition above all else.
Frequently Asked Questions
How do you get perfect shooting form in basketball?
Perfect basketball shooting form requires mastering 7 fundamentals: balanced stance, consistent shot pocket, proper hand placement on finger pads, aligned elbow, leg-powered lift, clean wrist release with follow-through, and proper arc with backspin. Daily form shooting drills at close range build muscle memory.
What is the most important part of shooting form?
Elbow alignment and follow-through are the two most critical elements of basketball shooting form. A tucked elbow aligned under the ball ensures straight shots, and a consistent follow-through ensures a complete release with proper arc and rotation every time.
How many shots should I practice per day?
For youth players, 100-200 quality shots per day with proper form is more effective than 500 careless shots. USA Basketball recommends focusing on form shooting and free throws before adding game-speed shooting. Consistency and correct mechanics matter far more than volume.
At what age should kids learn proper shooting form?
Kids can begin learning basic basketball shooting form at age 7-8 with a lower hoop and smaller ball. Full shooting mechanics become appropriate at age 10-12 when players have the strength to shoot with proper form at regulation height. Starting with correct form early prevents bad habits.
2 thoughts on “Basketball Shooting Form: 7 Steps to a Perfect Shot Every Time”