
Breaststroke is usually the last stroke kids master, and the kick is almost always the hardest part. Unlike freestyle or backstroke, the breaststroke kick asks a child’s ankles, knees, and hips to move in a sequence that feels backwards at first — bend, turn out, sweep around, then snap together and glide.
This guide breaks that sequence into pieces you can actually coach from the pool deck, including the order to introduce drills, the cues that tend to click with kids, and fixes for the mistakes almost every beginner makes.
Quick Answer
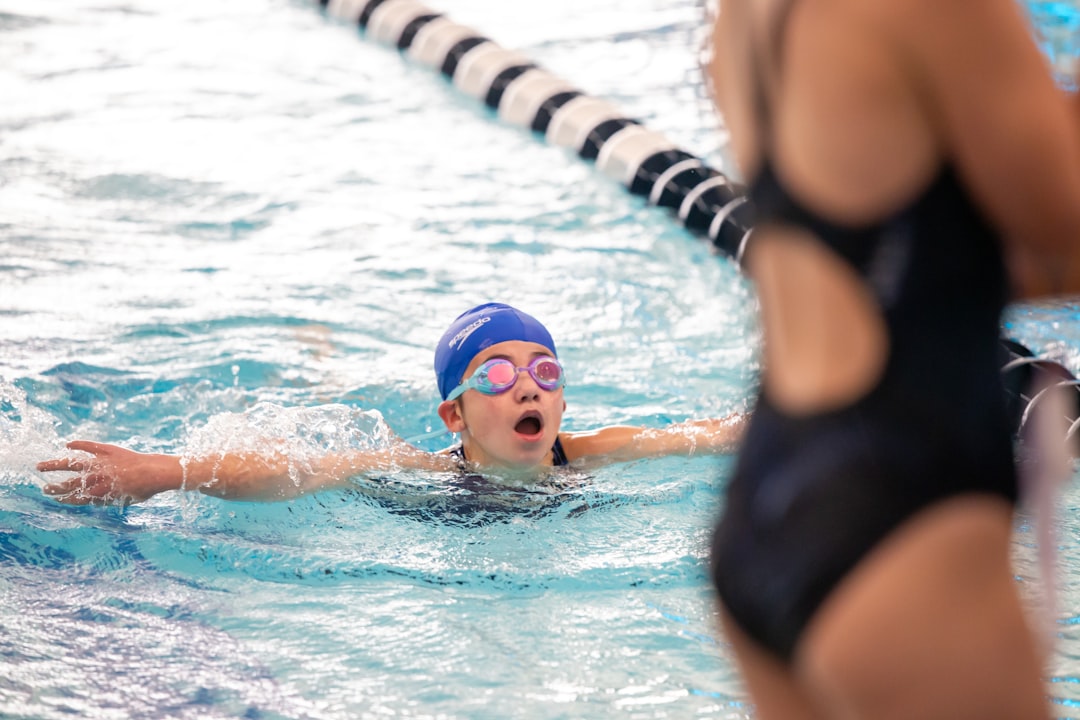
Teach the breaststroke kick in this order: heels toward the bottom, feet turned out like a duck, legs kick out and around in a circle, then squeeze the legs together and glide. Practice each piece on land and at the pool edge before adding it in the water, and use a short verbal cue like “bend, turn, kick, squeeze, glide” so kids can talk themselves through it.
The Breaststroke Kick, Step by Step
Start with body position. Have your child lie face down in the water — or on the pool deck for a dry run — with arms stretched out front, legs long behind them, and their face relaxed and looking down. A woggle or kickboard under the arms takes the swimming and breathing out of the equation so they can focus only on their legs.
Step 1 — Heels up: Bend the knees and draw the heels up toward the seat, keeping the knees roughly hip-width apart (not flared wide). Many coaches use the cue “heels to your bottom.”
Step 2 — Turn the feet out: Once the heels are close, the child rotates their ankles so the toes point outward, almost like duck feet. This outward ankle turn (called eversion) is the motion kids struggle with most, because it’s not a natural ankle movement — expect to spend extra time on it.
Step 3 — Kick out and around: The legs sweep outward and then around in a wide circular path, with the feet doing most of the work — think of tracing a heart or circle shape with the soles of the feet, not just spreading the knees apart.
Step 4 — Squeeze and glide: The legs snap back together in a straight line and the body glides for a beat or two before the next kick begins. This pause is what separates a strong breaststroke kick from a weak, splashy one — no glide means the kick is doing very little for the swimmer.
A simple way to remember the whole cycle is the phrase “up, out, around, together” — heels up, feet out, kick around, legs together — followed by a glide.
Teaching Order: From Dry Land to Full Kick
Kids learn the breaststroke kick fastest when it’s broken into stages rather than taught in the water all at once. Start on the pool deck or at home: have your child sit or lie on their stomach and practice bending the knees and turning the feet out slowly, checking that both feet turn out evenly (not just one).
Move to the pool edge next. Sitting on the edge with legs dangling in the water, kids can watch their own feet perform the up-out-around-together sequence without worrying about floating or breathing, and you can immediately point out if one foot isn’t turning out.
In the water, begin holding onto the wall or a kickboard so the child can kick without needing to swim forward at the same time. A great progression drill is kicking on their back with a woggle or float under the arms — this lets them sit up slightly and actually watch their own legs perform the circular motion, which is hard to do face-down.
Once the kick looks clean holding the wall or a board, add short bursts of kicking away from the wall with arms extended, counting out loud: “kick… two… three… glide.” Only add the arm stroke and breathing once the kick is consistent on its own — combining everything too early is the most common reason kids revert to a flutter kick instead of breaststroke.
Tips and Common Mistakes
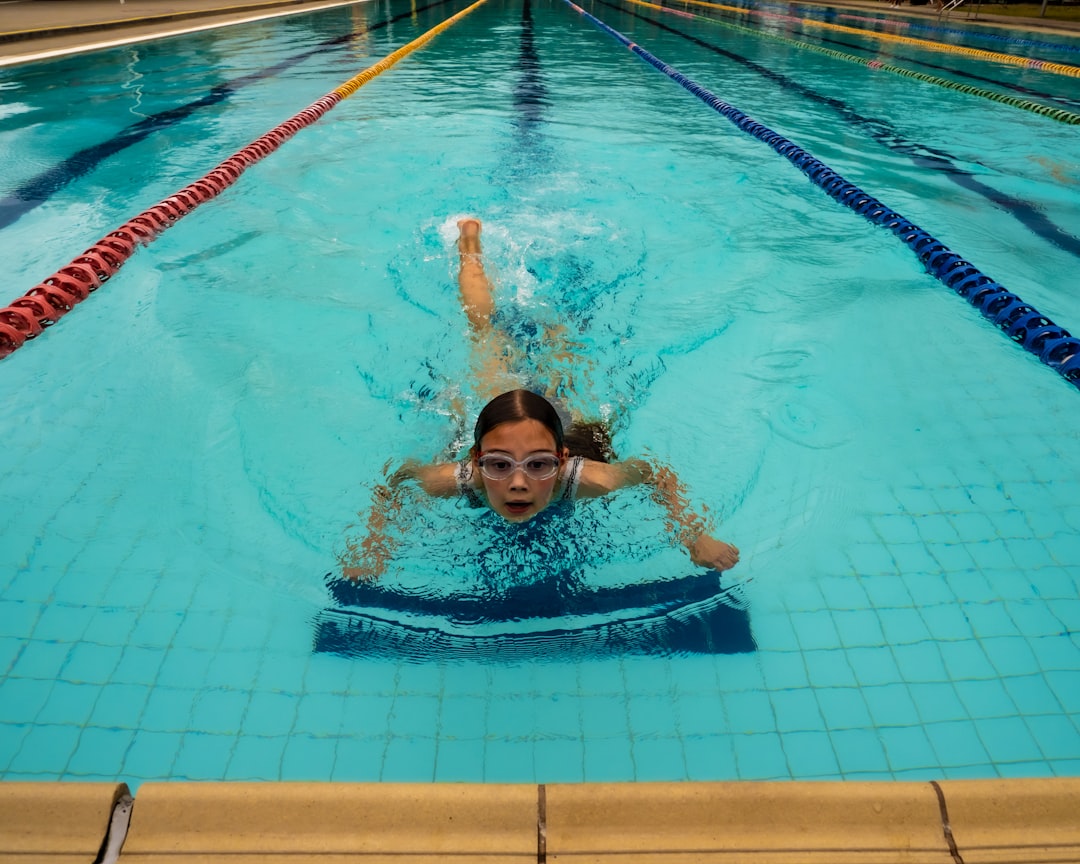
Watch for the “scissor kick,” where one foot turns out correctly and the other stays pointed or turns inward — this is the single most common breaststroke kick error in kids and it’s easiest to catch from the pool edge drill, watching both feet head-on.
Knees too wide is another frequent issue. If the knees spread apart during the kick, most of the power leaks out sideways instead of pushing the child forward — remind them to keep the knees under the hips and let the feet, not the knees, do the circling.
Kicking too fast with no glide is common because it feels like “more effort.” Slow the pace down deliberately and reward a strong single kick followed by a long glide over several rushed, splashy kicks in a row.
Keep the whole kick underwater. Kids often lift their knees or feet toward the surface, which is a habit from flutter-kicking freestyle — cue them to keep their feet low and let the kick stay compact and submerged.
Expect this to take longer than other strokes. Because it requires an unfamiliar ankle motion, most children need noticeably more repetition on the breaststroke kick than on freestyle or backstroke kicks, so short, frequent practice sessions work better than one long session.
Explore more: More swimming guides and drills.
Breaststroke kick for kids FAQs
What age can kids start learning the breaststroke kick?
Most swim programs introduce breaststroke kick once a child is already comfortable floating, kicking freestyle, and putting their face in the water — often around age 5-7, though it varies by child. The limiting factor is usually ankle flexibility and coordination rather than age itself, so it’s fine to introduce it later if a child needs more time.
Why is the breaststroke kick so hard for kids to learn?
It’s the only stroke that asks the ankles to turn outward (a motion called eversion) while the knees stay together, which is an unnatural movement for most beginners. Kids also tend to default to a scissor or flutter kick because those motions feel more familiar, so it takes deliberate, repeated practice to build the new movement pattern.
What’s a good drill to fix a scissor kick?
Have the child kick on their back with a woggle or float under their arms so they can watch their own feet during the kick. Seeing both feet turn out evenly in real time makes it much easier for kids to self-correct than relying on a coach’s verbal feedback alone.
Level Up With SportsSteps
Track your athlete’s progress, connect with coaches and your team, and grow — get the SportsSteps app. Get the SportsSteps App.
Photo by April Walker on Unsplash.