
Handing a brand-new player a lacrosse stick for the first time can feel like handing them a foreign object — the ball rolls out of the pocket the second they move, and their instinct is to grip the shaft in a death clamp. Cradling is the skill that turns that awkward stick into an extension of their hands, and it’s the single most important fundamental to nail early, because almost everything else in lacrosse (dodging, passing under pressure, running while defended) depends on it.
This guide breaks cradling down into the exact grip, motion, and drill progression you’d use with a kid who has never held a stick before — no lacrosse background assumed on your end either.
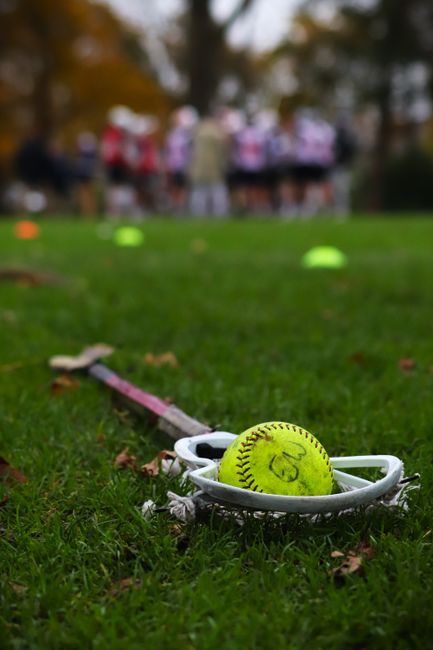
Quick Answer
Start the player two hands on the stick, dominant hand near the throat of the head and the other hand at the butt end, holding it loosely rather than gripping hard. Have them rock the stick head back and forth from ear to nose using their wrists and forearms, not their whole arm, while keeping the stick around a 45-degree angle to the ground. Practice the motion standing still first, then walking, then running, before ever taking a hand off the stick.
Step-by-Step: The First 20 Minutes
Step 1 — Grip check before anything else. Top hand (their writing hand) goes near the top of the shaft, close to the head, gripped underhand. Bottom hand sits at the very butt end. Both hands should hold the stick lightly — tell them to imagine holding a bird you don’t want to squeeze. A white-knuckle grip is the #1 thing that makes cradling look stiff and causes the ball to bounce out.
Step 2 — Load the ball and find the angle. With the ball resting in the pocket, have the stick angled roughly 45 to 60 degrees from the ground, held parallel-ish to their body on one side. This tilt is what keeps the ball sitting in the pocket instead of rolling toward the open side.
Step 3 — Teach the motion with a mirror or a phone camera. Have them rock the stick head in a small arc from about ear-level to nose-level and back, turning the wrists and forearms rather than swinging the whole arm. Watching themselves (or a video replay) helps them see if the motion is too big or too stiff.
Step 4 — Stationary reps before movement. Get 30-60 seconds of continuous cradling standing still before adding footwork. Resist the urge to have them walk immediately — most dropped balls at this stage come from rushing to the next step too soon.
Step 5 — Add walking, then jogging, then running. Once the motion is smooth standing still, have them walk in a straight line while cradling, then jog, then sprint. Each time you add speed, the cradle should get slightly tighter and faster to compensate.
Step 6 — Two hands to one hand. Only after they can jog while cradling with two hands should you introduce one-handed cradling (used to fend off a defender’s stick or free up the other arm). This usually isn’t necessary in the very first session — it’s fine to save it for a later practice.
Drills That Make It Stick
‘What Time Is It, Mr. Fox?’ — A simple, game-based drill kids already understand. Players line up across from the coach and take a number of steps forward equal to whatever time the coach calls out (e.g., ‘three o’clock’ means three steps), cradling the whole time. When the coach yells ‘Midnight!’, everyone sprints back to the start line without losing the ball. It sneaks in start-stop cradling and a bit of pressure without feeling like a drill.
The Box Drill — Set up four cones in a square, roughly 15-20 yards apart per side. The player cradles on their right side down one leg of the box, then switches to cradling on their left side at the corner, continuing around the box and switching sides at each cone. This is the natural next step once basic cradling is solid, since real games require constantly switching the ball from side to side to shield it from a defender.
Mirror or partner cradle — Standing across from a partner (or a mirror), the player cradles continuously while the partner calls out simple directions (‘look left,’ ‘look at me,’ ‘take a step back’). It builds the habit of cradling on autopilot while their attention is elsewhere, which is exactly what happens in a real game.
Common Mistakes and Quick Fixes
Gripping too tightly. A tense grip stiffens the wrists and kills the cradling motion. Fix: remind them to hold the stick like it’s fragile, not like they’re trying to crush it.
Cradling with the whole arm instead of the wrist. This looks exaggerated and is slow to react to contact. Fix: have them tuck their elbow closer to their body and exaggerate a small, fast wrist snap instead of a big arm swing.
Holding the stick too flat (parallel to the ground). A flat stick lets the ball roll right out. Fix: check that the head is tilted up at that 45-60 degree angle so gravity works with the pocket, not against it.
Looking down at the stick constantly. It’s a natural instinct for beginners, but it means they can’t see the field. Fix: use the mirror/partner drill above so they build feel without needing to watch the ball, and be patient — this takes reps, not a single correction.
Rushing to running before the motion is smooth standing still. Fix: don’t skip the stationary rep stage even if the player is eager to move — a shaky standing cradle becomes a dropped ball the moment they start jogging.
Explore more: More youth coaching guides and drills.
Teaching lacrosse cradling to beginners FAQs
How long does it take a beginner to learn to cradle?
Most kids can get a passable stationary cradle within a single practice session, but a cradle that holds up while running and being defended usually takes several weeks of repeated short reps rather than one long session.
Should a beginner learn two-handed or one-handed cradling first?
Two-handed. It’s more stable and easier to control, and it’s what beginners will use most in their first games. One-handed cradling (for fending off a check or freeing a hand to pass) should wait until the two-handed motion is smooth while running.
What’s the best way to practice cradling at home between practices?
A few short sessions of a couple minutes each — cradling while walking around the yard or house, or while watching TV — build the muscle memory better than one long session. Consistency matters more than duration at this stage.
Level Up With SportsSteps
Track your athlete’s progress, connect with coaches and your team, and grow — get the SportsSteps app. Get the SportsSteps App.
Photo by Jay Brand on Pexels.