
The back float is the single most important skill in early swim instruction. A child who can roll onto their back, relax, and float can rest, breathe, and call for help if they ever get tired or scared in the water — long before they know how to swim a real stroke.
This guide walks through how instructors and parents build the back float progressively, from full physical support down to independent floating, plus the cues that fix the two most common problems: sinking hips and a panicked, upright body position.
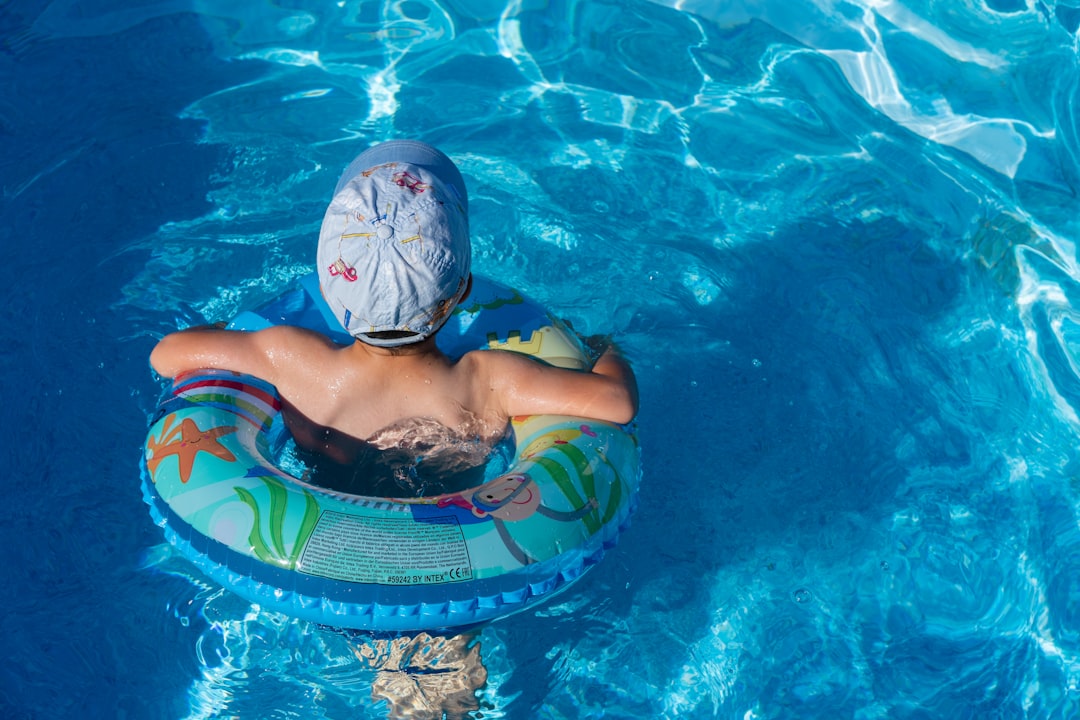
Quick Answer
Start by fully supporting the child’s head and back in the water while they get used to the sensation of lying flat, then gradually reduce your support as they learn to keep their belly button and hips pushed up toward the surface, chin level, and body relaxed. Most kids need several short sessions — not one long one — before they can hold the position on their own.
Step-by-Step: Building the Back Float
1. Start with full support. Hold the child so the back of their head rests on your shoulder or forearm, and use your other hand under their back to keep their stomach at the surface. Let them get used to having water in their ears and looking straight up, not at you — looking up keeps the body flat.
2. Set the body position. Have them spread their legs slightly and stretch their arms out to the sides in a ‘T’ or ‘starfish’ shape. This wider base makes it much easier to balance than arms pinned to the sides.
3. Cue the hips, not just the head. The most common floating mistake is letting the hips and legs sink, which tips the body upright and causes panic. Tell the child to ‘push your belly button to the sky’ or ‘stick your tummy up like a whale’ — lifting the hips is what keeps the legs from dropping.
4. Reduce support gradually. Once they’re comfortable with a shoulder cradle, move to supporting just the head with your fingertips, then let them rest their head in your open palms without gripping, then finally hover your hands just under their back without touching. Each stage should feel boring and easy before you move to the next.
5. Practice the recovery. Teach them to bring their knees to their chest and sweep their arms down to roll back to standing (or to a front float) whenever they want to stop. Being able to start and stop the float on command builds confidence fast.
Why Back Float Comes Before Other Skills
Swim programs typically introduce the back float early because it lets a child breathe freely the entire time, unlike a front float where the face is submerged. It also doubles as a real safety skill: a child who falls into water unexpectedly and can roll onto their back and float has time to breathe and be rescued.
Learn-to-swim curricula generally build this up in stages over multiple sessions — first a supported float for a few seconds, then longer supported floats, then a brief independent float, and eventually floating combined with gentle arm and leg movement. Expect it to take several sessions, not one, especially for kids who dislike water in their ears or feel out of control on their back at first.

Tips and Common Mistakes
Keep ears in the water. Many kids arch their neck to keep their ears dry, which drops their hips and ruins the float. Reassure them that water in the ears is normal and won’t hurt, and consider snug swim earplugs if it genuinely bothers them.
Don’t rush the fade-out. Removing support too quickly is the top reason kids tense up and refuse to float again. Stay at each support level until the child looks relaxed, not just until they technically stay afloat.
Distract, don’t drill. Counting, singing, or naming things they see in the sky keeps a nervous child’s mind off the sensation of being on their back and off balance.
Watch for the ‘jackknife.’ If a child’s head lifts to look around, their hips will sink immediately — cue ‘ears in the water, eyes up’ to reset the position.
Never leave a floating child unsupervised, even once they can float independently for several seconds. Independent floating is a skill milestone, not a substitute for active adult supervision in or near water.
Explore more: More swimming guides and tips.
Teaching a child to float on their back FAQs
What age can a child learn to float on their back?
Many children can begin building comfort with a supported back float as toddlers, and most are ready to work toward an independent float by preschool age with regular practice. Readiness varies a lot by child, so go by comfort level rather than a strict age.
Why does my child’s bottom or legs sink when they try to float?
Sinking hips are almost always caused by the head tilting forward to look around, which drops the hip line. Cue the child to keep their ears in the water and eyes looking straight up, and to actively push their belly button toward the sky.
How long does it take to learn to float independently?
It varies widely, but expect it to take multiple practice sessions rather than a single lesson, especially for kids who are anxious about water in their ears or about not being able to see their feet.
Is the back float safer to teach first than the front float?
Yes, most instructors teach it first because the child can breathe continuously while learning it, and it’s the position most likely to help them rest or call for help if they end up in water unexpectedly.
Level Up With SportsSteps
Track your athlete’s progress, connect with coaches and your team, and grow — get the SportsSteps app. Get the SportsSteps App.
Photo by Alexandr Podvalny on Unsplash.