
Teaching a young pitcher the windmill motion can feel overwhelming because so much has to happen in under a second: a full arm circle, a stride, a hip turn, and a wrist snap, all timed together. The good news is you don’t have to teach it in one piece.
This guide breaks the windmill delivery into the same progression pitching instructors use with beginners — building the motion backward from the release point, then layering in the arm circle and leg drive — so a new pitcher develops clean mechanics instead of muscling through bad habits.
Quick Answer
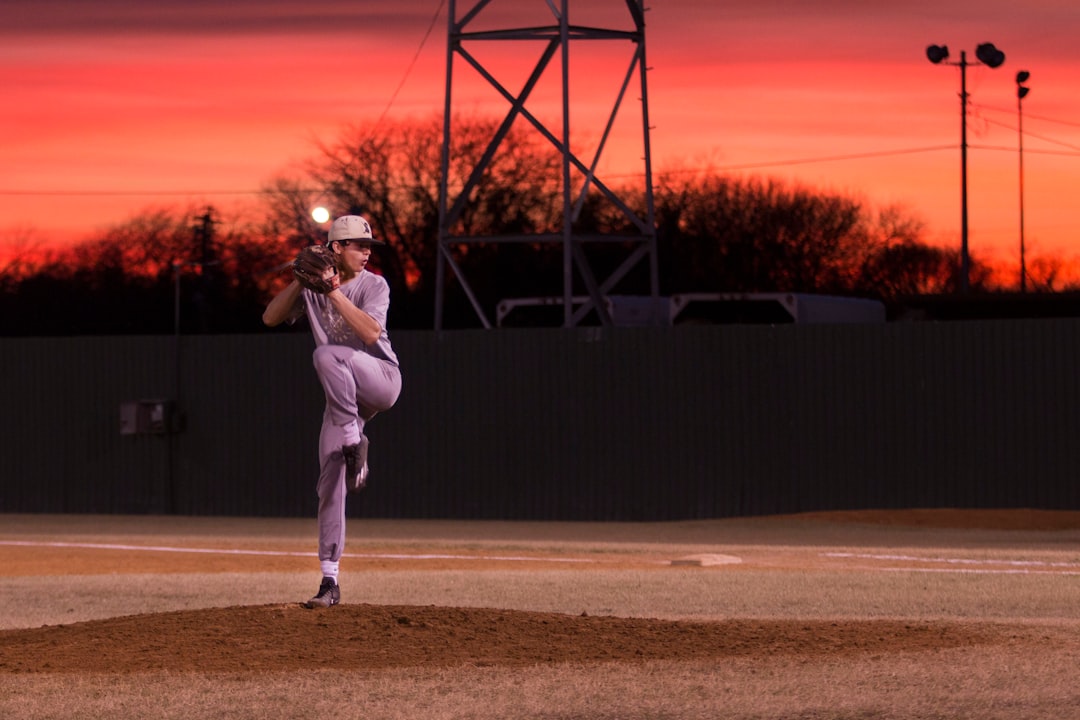
Teach the windmill motion in stages rather than all at once: start with the wrist snap and release, add the power position (the “K” position at the top of the circle), then the full arm circle from a kneeling position, then bring in the stride and leg drive, and finally combine everything into a full-speed pitch to a catcher. Prioritize control and repeatable mechanics before chasing velocity.
The Step-by-Step Teaching Progression
Start with the wrist snap. Have the pitcher hold the ball with a relaxed grip, keep the elbow slightly bent, and practice snapping the wrist forward to release the ball with backspin toward a partner or a wall a short distance away. This builds the feel for the release point before any arm circle is involved.
Add the power position (“K” position). This is the top of the arm circle, where the throwing arm is extended straight up and back, the glove-side arm is out front, and the front hip and shoulder are closed toward the catcher. From this position, have the pitcher whip the arm down and snap the wrist at release, with the ball, glove, and stride foot all traveling toward the catcher along the same line — often called the power line. This drill also doubles as a good arm warm-up.
Groove the full arm circle from one knee. Have the pitcher kneel on the glove-side knee, facing the catcher, and perform a complete, straight arm circle that stays close to the body rather than swinging away from it. An arm path that drifts away from the body is one of the most common flaws in young pitchers and makes the pitch both slower and less accurate.
Stand up and add the stride and leg drive. Once the circle is consistent from the knee, have the pitcher stand with one foot on the pitching rubber, step hard toward the catcher with the glove-side leg, and drive off the back leg as the arm completes the circle. The stride foot should land firmly at roughly a 45- to 90-degree angle to the plate with the toe pointing slightly inward — a soft or open landing bleeds off power and accuracy.
Combine it into a walk-through, then full speed. Slow the whole motion down at first so the pitcher can feel the sequence: weight shift back, stride out, arm circle, hip and shoulder rotation, release, and drag of the back leg through follow-through. Once the sequence is smooth at half speed, let the pitcher build back up to full effort.
Finish by pitching to a catcher. Live reps to a real target, focused on hitting a spot rather than throwing hard, cement the mechanics you’ve built. Save velocity work for once the motion is repeatable.
Keys to a Strong, Repeatable Motion
Keep the arm circle tight and close to the body throughout — a pitcher should be able to nearly brush the hip on the way down. A wide, looping circle costs speed and makes timing harder to repeat.
The stride and the arm should finish together, with the front side (hip and shoulder) staying closed until just before release. Opening up early is a very common youth mistake and it pulls the pitch off target.
Emphasize a strong, stable base. Young pitchers need to stand tall and stay balanced through the delivery rather than collapsing or leaning, since a solid base is what lets the legs — the strongest part of the body — contribute real power to the pitch.
Keep instruction simple. Give one or two cues per session rather than a long list of corrections; overloading a young pitcher with feedback tends to cause hesitation and worse mechanics, not better ones.
Tips / Common Mistakes
Rushing the whole-motion phase before the arm circle and release are automatic. Slow it back down to the walk-through pace if accuracy or timing falls apart.
Letting the elbow bend and the arm swing away from the body during the circle (sometimes called a chicken-wing path) — this is best caught early with the kneeling arm-circle drill.
Chasing speed before control. A pitcher who can consistently hit her spots at a moderate pace will develop velocity naturally as strength and mechanics improve; a pitcher who throws hard but wild has to unlearn bad habits later.
Skipping a proper warm-up or pitching through arm soreness. The windmill motion places real, repeated demands on the shoulder and elbow — comparable to overhand throwing rather than an easier alternative to it — so treat pitch counts, rest between outings, and off-season recovery with the same seriousness as an overhand throwing program.
Not landing the stride foot solidly. A soft or flat-footed landing kills the transfer of energy from the legs into the pitch, so watch for a firm plant at each rep.
Explore more: more youth softball coaching guides.
Windmill pitching motion FAQs
What age should a pitcher start learning the windmill motion?
There’s no single required age — many programs introduce the basic windmill circle around 8 to 10 years old, once a player has decent coordination and can follow a multi-step drill. Focus on mechanics and enjoyment over velocity at first regardless of age.
Should I teach the arm circle first or the release first?
Teaching from the release backward (wrist snap, then power position, then full circle) tends to work well for beginners because it lets the pitcher feel a correct release before adding the complexity of the full arm path.
How long does it typically take to learn a clean windmill motion?
It varies by pitcher, but expect several weeks to a few months of regular short sessions before the full motion feels natural and repeatable — rushing the progression usually just bakes in bad habits that take longer to fix later.
Is the windmill motion hard on a young pitcher’s arm?
Biomechanics research has found that shoulder forces during the windmill pitch are comparable to those seen in overhand throwing, not lower — so the windmill motion isn’t a gentler alternative for the arm. Clean mechanics (a tight arm circle, proper weight transfer) combined with sensible pitch counts and rest between outings are what protect a young pitcher’s shoulder and elbow, not the motion itself.
Level Up With SportsSteps
Track your athlete’s progress, connect with coaches and your team, and grow — get the SportsSteps app. Get the SportsSteps App.
Want youth sports news in your inbox? Subscribe to the free newsletter.
Photo by Chris Moore on Unsplash.